
How to Buy USDT in Latin America with Local Payment Methods
Compare local rails, fees, security, and network compatibility to buy USDT in Latin America via PIX, SPEI, cards, or wallets.
If I want to buy USDT in Latin America, the main things I check are payment method, total cost, platform safety, and network match. A bank wire can cost 3% to 5%, while local rails like PIX and SPEI are often much cheaper and can settle in seconds or minutes.
Here’s the short version:
- Use local payment methods first: PIX in Brazil, SPEI in Mexico, local bank transfers, cards, and some e-wallets like Mercado Pago
- Check the full quote, not just the listed fee: spread, processing costs, and withdrawal fees can change the final amount
- Finish ID checks before paying: many platforms ask for ID, tax number, and a selfie
- Match your wallet network exactly: sending USDT on the wrong network can mean a permanent loss
- Keep the first buy small: about $20 to $50 is a simple test run
- Use your own bank account only: the account name usually must match your verified exchange name
- Avoid writing “crypto” or “USDT” in the bank transfer note unless the platform tells me to add a reference
I’d think about it like this: local rails are often the lowest-cost path, cards are often the fastest backup, and bank transfers work when instant methods aren’t supported. In Brazil, PIX is live 24/7 and can settle in under 10 seconds. In Mexico, SPEI is near-instant. Card payments often settle in 1 to 5 minutes, but fees can run around 1% to 3.5%.
Quick Comparison
| Method | Best For | Speed | Typical Cost | Main Watchout |
|---|---|---|---|---|
| PIX (Brazil) | Low-cost local buys | Instant | Often free | Night limits may apply |
| SPEI (Mexico) | Low-cost local buys | Near-instant | Low/free | CLABE and reference must match |
| Debit/Credit Card | Fast checkout | 1–5 minutes | 1%–3.5% | Higher fees, possible 3D Secure step |
| Bank Transfer | When instant rails are not available | Minutes to hours | Varies | Can be slower and may have time limits |
| Mercado Pago / local wallets | Extra payment option in some markets | Often instant | Varies | Support depends on country and platform |
So if I were starting today, I’d use a platform that shows the final “you receive” amount, supports my local payment rail, has 2FA and ID checks, and lets me send USDT on the right network for my wallet.
sbb-itb-0796ce6
How to Choose a Safe Platform Before You Pay
Once you’ve picked a local payment method, the next step is simple: make sure the platform is safe and clear about costs. Before you send any money, check its legal status, security setup, and the full price you’ll pay.
Check Regulation, Verification, and Security
Start with the rules in your country, then use a platform that lines up with them. In Argentina, crypto platforms must register with the CNV (National Securities Commission) as of late 2025. In Brazil, the Central Bank oversees crypto activity under Law 14,478/2022.
Then look at identity checks (KYC). Most trusted platforms ask for a government-issued ID - a CPF in Brazil or a DNI in Argentina - plus a selfie.
Security matters too. At a minimum, look for 2FA, anti-phishing codes, approved address lists, and escrow for P2P trades.
Compare Total Cost, Exchange Rate, and Settlement Speed
The listed fee almost never tells the whole story. The real cost of buying USDT includes the platform service fee, any payment processing fee, the exchange-rate spread or P2P premium, and blockchain network fees for withdrawal.
That’s why the "you receive" amount on the confirmation screen matters so much. A platform can show a low service fee and still cost more if the exchange rate includes a wide spread.
Check two things before you pay:
- The all-in price
- The settlement speed for your payment method
Comparison Table: What to Check Before Choosing a Platform
| Factor | What to Look For |
|---|---|
| Legal status | Registered VASP or locally licensed platform |
| Supported Local Methods | PIX, SPEI, Mercado Pago, bank transfer, debit/credit card |
| Fee Transparency | All-in cost shown before confirmation, no hidden spread |
| Settlement Speed | Minutes to 2 hours, depending on the payment method |
| Verification time | ID + selfie; minutes to three business days depending on the platform |
| Security Features | 2FA, anti-phishing codes, approved address lists, and escrow for P2P trades |
Once a platform clears these checks, compare the final quote and the payment flow before you buy.
How to Buy USDT Step by Step in Latin America

How to Buy USDT in Latin America: Step-by-Step Guide
After you pick a safe platform, buying USDT usually comes down to three parts: set up your wallet, check the quote, and pay with a local method.
Set Up Your Wallet and Pick the Right USDT Network
USDT runs on more than one blockchain, including Tron, Ethereum, BNB Smart Chain, and Solana. The network you choose at checkout must match the network your wallet supports. If it doesn’t, you can lose the funds for good.
For many beginners, TRC-20 is the simplest place to start because fees are low and transfers are fast. Copy your wallet address carefully, check the first and last four characters, and send a small test amount first.
Once your wallet address and network line up, go to the quote screen and check the total before you pay.
From Quote to Payment Confirmation: The Full Purchase Flow
On Kryptonim, the buying flow is simple and meant to cut down on surprises. Here’s the basic path:
1. Enter your amount in local currency
Type the amount in your local currency, such as BRL, MXN, or ARS. The platform then shows your USDT quote based on the current rate. This is where you check the full amount you’ll pay and how much USDT you’ll get before you move ahead.
2. Choose your payment method and complete KYC if prompted
Pick your payment method, then finish KYC if the platform asks for it. Have a government-issued ID ready, such as a DNI, CPF, or passport, along with a selfie. Doing this before payment can help prevent delays.
3. Confirm your wallet address and network, then pay
Check that the network shown at checkout matches your wallet exactly. Then follow the steps for your payment method, whether that’s PIX, SPEI, a debit or credit card, or a bank transfer. Leave payment reference fields blank unless the platform tells you to fill them in.
Faster methods like PIX, SPEI, and card payments usually settle sooner than bank transfers.
Next, the process changes a bit by country and payment rail, especially for PIX, SPEI, cards, and local wallets.
Country-Specific Payment Methods and How They Work
Once you've checked that the platform is safe, your payment method becomes the next big decision. It affects how fast the transfer goes through and what it costs you.
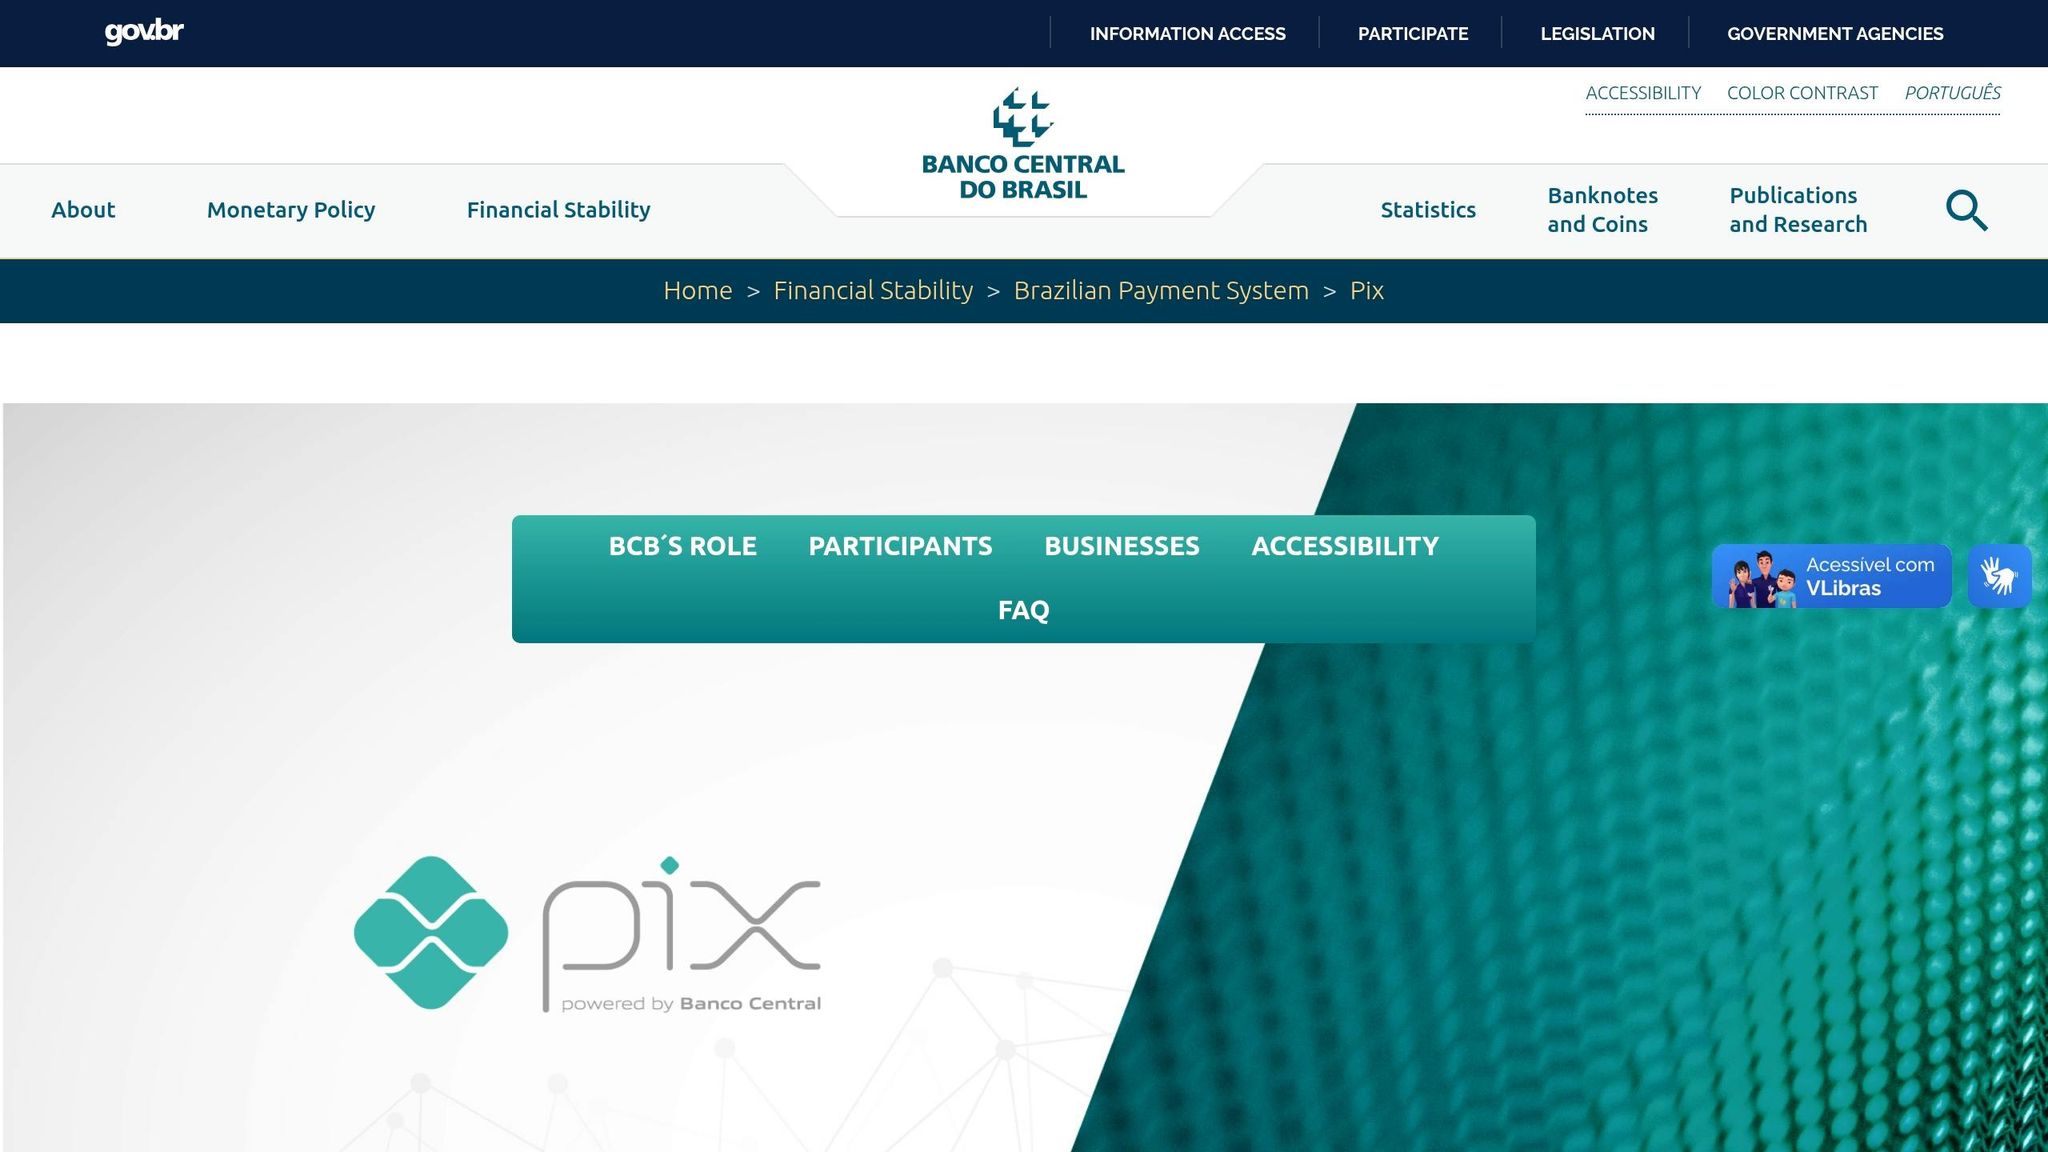
Buying USDT with PIX in Brazil and SPEI in Mexico
PIX and SPEI are both fast, but the steps aren't identical.
At checkout, the platform shows the exact amount, the payment rail, and the wallet details before you send anything. That's your cue to slow down for a second and make sure every detail matches.
In Brazil, PIX settles in under 10 seconds, runs 24/7, and is used by more than 140 million people. To pay, select BRL, choose PIX as your payment method, and the platform will show a PIX key or QR code. Open your banking app, send the exact amount shown, then head back to the platform and mark the payment as complete.
First-time buyers usually run into the same two problems:
- The name on your bank account must match the verified name on your exchange account exactly
- You should never use someone else's bank account to make the payment
There's one more detail that catches people off guard. Don't write "crypto", "USDT", or the exchange name in the payment description. That can cause your bank to flag or block the transfer. And many Brazilian banks cut the PIX limit to about BRL 1,000 at night, so if you're making a bigger purchase, daytime is usually the safer window.
In Mexico, SPEI payments depend on two details: the CLABE and the platform's reference number. Enter both exactly as shown. Even a small typo can send the payment sideways.
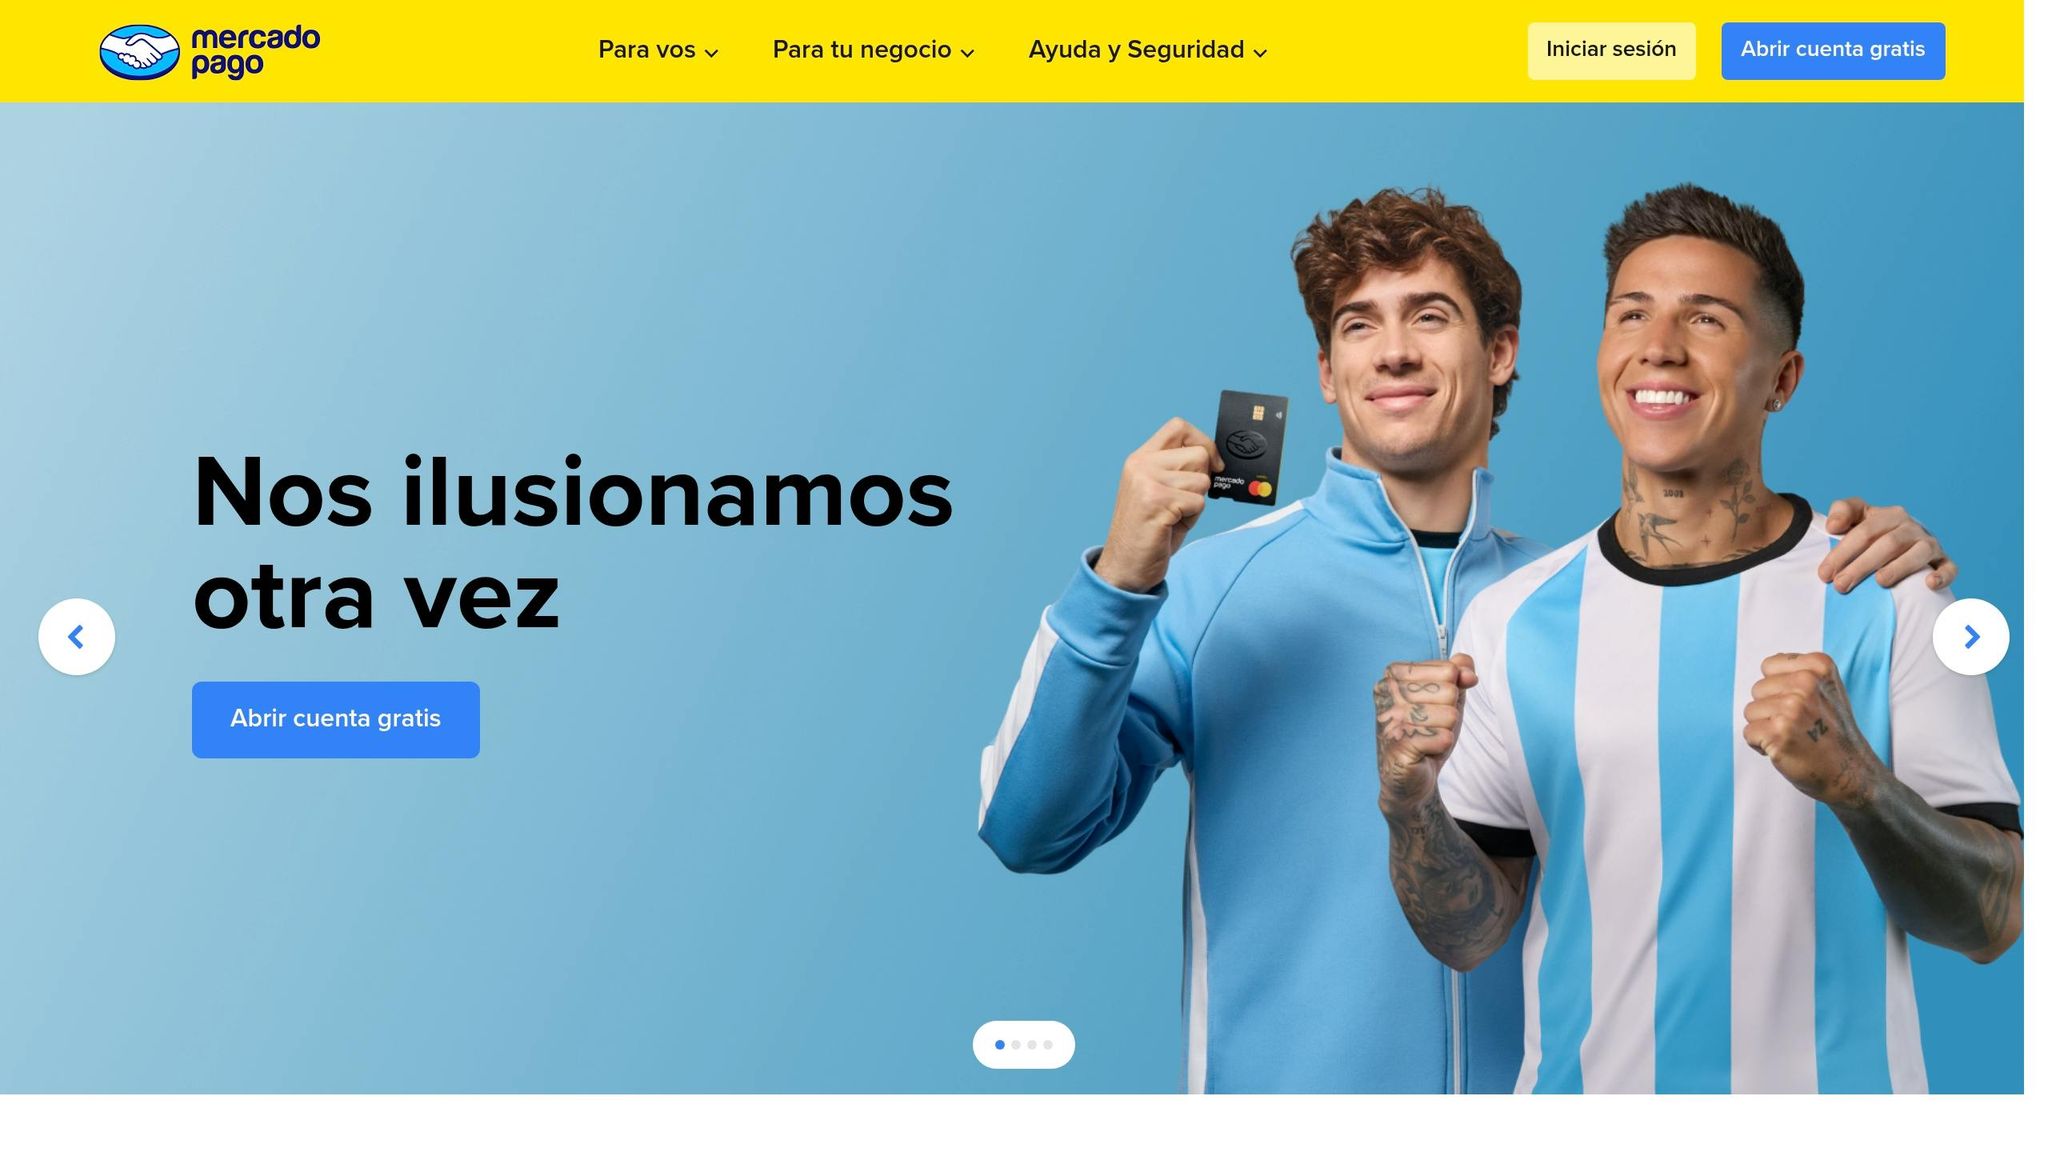
Using Cards, Bank Transfers, and Mercado Pago Where Supported
Cards are usually the fastest option after instant bank rails. They tend to settle in 1 to 5 minutes, but they often cost more: 1% to 3.5%, plus possible 3D Secure approval.
TED transfers in Brazil usually settle in 30 minutes to 2 hours and only work during business hours. So while they can be a fit for some buyers, they're not the best pick if you need funds late at night or on a weekend.
Mercado Pago is available on some platforms and settles instantly. Some people like using it because it keeps the payment separate from their main bank account. That said, availability changes by country and by platform, so check before you begin checkout.
Use the table below to compare speed, cost, and access at a glance.
| Method | Speed | Typical Fee | Typical Availability |
|---|---|---|---|
| PIX (Brazil) | Instant (<10 sec) | Free | 24/7 |
| SPEI (Mexico) | Near-instant | Low/Free | 24/7 |
| Credit/Debit Card | 1–5 minutes | 1%–3.5% | 24/7 |
| TED Transfer (Brazil) | 30 min–2 hours | Free–R$10 | Business hours only |
| Mercado Pago | Instant | Varies | Country- and platform-dependent |
Final Checks to Buy USDT Safely and Avoid Mistakes
Use the platform, network, and payment method checks above as your last review before you pay. At this stage, confirm three things: the platform is verified, your payment method is supported, and the final quote shows common crypto trading fees and spread.
Once your wallet is set up, make the network check your last line of defense. Confirm the destination network before sending anything. If the network doesn’t match, you could permanently lose your funds.
When the platform gives you transfer details, follow them exactly. The name on your bank account or payment method must match the verified name on the exchange exactly. Leave the memo blank unless the platform gives you a reference code. And don’t write "crypto", "USDT", or the exchange name in the memo field.
For your first purchase, keep it small: $20 to $50. That gives you a simple way to test the whole process before you send more money.
FAQs
Which USDT network should I choose?
Choose based on fees, speed, and compatibility.
For the lowest fees and fast withdrawals, Tron (TRC-20) is widely seen as the standard pick in Latin America. If you need broad DeFi compatibility, Ethereum (ERC-20) is the go-to option. Solana (SPL) sits in the middle and offers a solid mix of speed and low cost.
Always confirm that your destination wallet supports the network you choose. That simple check can help you avoid losing assets.
Why is my final USDT amount lower than expected?
Your final USDT amount may be lower because the total cost often includes more than just the asset price. It can also include platform fees, card processing charges, and the spread between buy and sell prices.
Your payment method matters too. Cards and some local payment rails often cost more than bank transfers, which means you may receive less USDT. Always check the final summary for the full fee breakdown, including any network costs.
What can cause a local payment to be rejected?
Local payments usually get rejected for two main reasons: wrong transaction details or bank compliance checks.
The most common issues are pretty simple:
- Missing or incorrect reference fields
- Payment notes that mention crypto, USDT, or exchange names
- Sending funds to the wrong account
Before you send money, double-check the seller’s exact payment details. A small mismatch can be enough for the payment to fail.